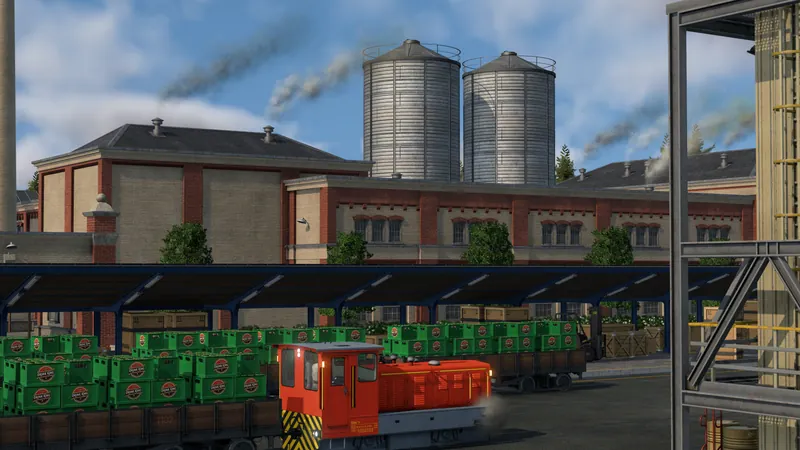
Find the full buffer and test one delivery
- Follow a loaded vehicle to its destination. Note its product and whether any cargo leaves at the stop. If it never loaded, use the origin pickup checklist instead.
- Identify the receiver. For direct factory delivery, select that industry and open its stock display. The official manual lists current and maximum amounts in Input Stocks and Output Stocks. Compare the input for your product with its limit. For a town, inspect the relevant receiving consumer; for a transfer, inspect the warehouse's product slot and onward line.
- Watch stock while the simulation runs. If input is at its limit, see whether production consumes it and allows a later delivery. Release players report partial unloading as consumption frees space, then departure with the remainder after the stop's wait expires. One returning vehicle alone does not prove oversupply.
- Reduce feed to match the observed drain. Test a smaller incoming load or fewer active deliveries. Do not add more feeder vehicles to a full buffer. Compare stock and leftover cargo over subsequent trips; keep enough supply that the receiver continues operating.
- Check the next leg if storage never drains. A transfer warehouse needs a working pickup line, a compatible vehicle and a consumer for that cargo. Use the warehouse handoff checks. For low factory throughput, inspect its other inputs and production conditions before increasing supply again.
Industries & Cargo
Origins, cargo categories, loading infrastructure and transfers.
Watch on YouTube ↗Official pre-release overview. Use the written checks for this task; older videos may describe plans that later changed.
Full input, full output or full warehouse?
- Full receiving input: test delivery rate against consumption. A new nearby warehouse is not proof that a directly served factory now accepts the excess.
- Full origin output: the official industry manual says production continues and excess output is destroyed. Check pickup capacity and its destination; this differs from cargo returning on the delivering vehicle.
- Full transfer warehouse: inspect the correct slot, pinned filter and onward pickup. Additional storage can buffer a short mismatch; it does not fix a permanently slower distribution line.
Does force unload fix it?
Players in the linked factory discussion report that forced unloading can discard excess goods without payment. Treat it as a cargo-loss option, not successful supply. It also does not repair a missing connection or wrong stop setting. Exact wording varies; confirm the in-game explanation before enabling a discard option. This guide does not require it.
How to tell the repair worked
The intended receiver accepts the product, consumption or onward pickup frees space, and less unwanted cargo returns on later trips. Stock remains usable rather than filling permanently or starving production. An empty vehicle caused by discarding is not this success state.
If stock has room but unloading still fails
Check the destination's loading selection, actual connection highlight, compatible storage and cargo platform using the ship-to-truck fault tree or warehouse guide. If those checks pass, record the build, product, stock panel and affected line for support. Food-expiry color claims remain conflicting in player discussions; a color alone is not a verified diagnosis here.